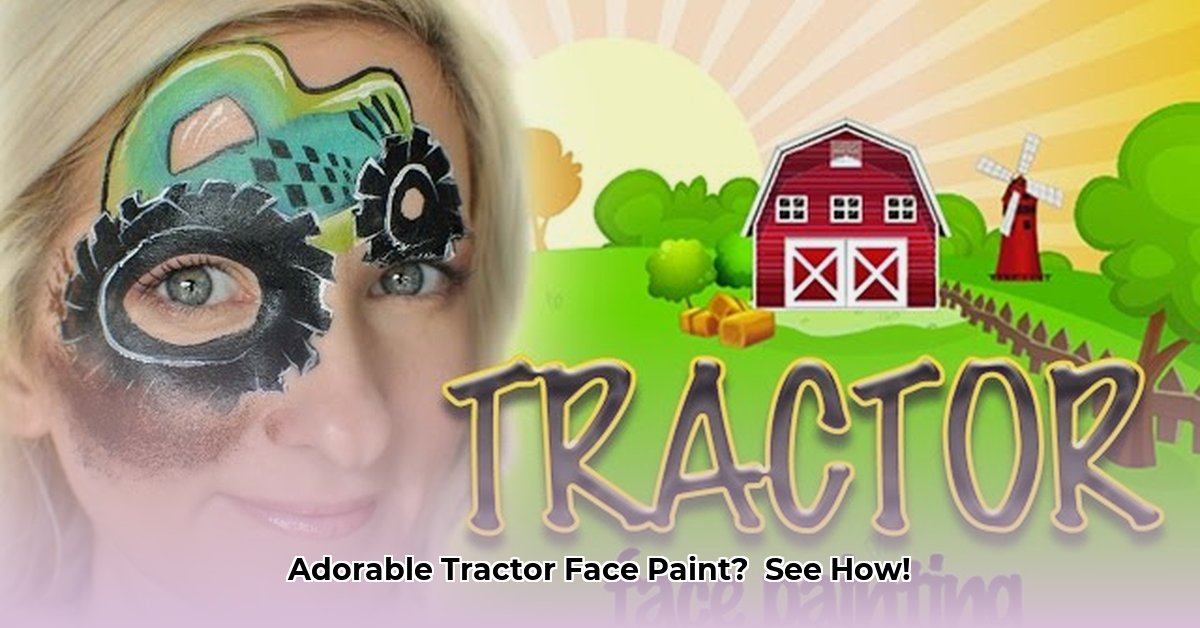
Want to create adorable tractor faces? This step-by-step guide makes it easy, even for beginners! We've combined the best tips from online tutorials to provide a fun, clear method for painting awesome tractor designs. For more advanced designs, check out these tractor painting ideas. Get ready to unleash your inner artist and impress everyone!
Gathering Your Supplies: Let's Get Started!
Before you begin transforming faces into charming tractors, gather these essential supplies:
- Face Paints: Choose vibrant greens, yellows, oranges, black, and red for a classic tractor look. Feel free to get creative with your color choices!
- Brushes: A variety is key. You'll need a large flat brush (for base coats), a medium round brush (for outlining and details), and a small detail brush (for fine touches).
- Blending Sponge: This helps create smooth, professional-looking blends between colors.
- Water Pot and Paper Towels: Essential for keeping your brushes clean and ready to go.
- Optional Stencils: Use stencils for perfectly shaped wheels or other elements if desired. They can be a lifesaver for beginners.
Painting Your Tractor: A Step-by-Step Adventure
This tutorial focuses on a simple, beginner-friendly design. Feel free to customize and add your personal flair!
Step 1: Prep the Face: Ensure the face is clean and comfortable. A little pre-painting conversation can ease any anxieties.
Step 2: Base Coat: Using the large flat brush, apply a light green base coat to the forehead area. Let it air dry briefly.
Step 3: Tractor Body: With a slightly darker green, paint the tractor body shape—a rectangle with gentle curves is perfect. Don’t worry about perfection; tractors come in all shapes and sizes!
Step 4: The Wheels: Using the medium round brush and black paint, carefully paint four circles for the wheels. Don't stress about perfectly round circles; a little imperfection adds charm!
Step 5: Adding Details: Now for the fun part! Use the small detail brush to add:
- Headlights: Two small yellow circles.
- Windows: Small rectangles or any design you prefer.
- Chimney: A thin, vertical rectangle.
Step 6: Optional Rising Sun (Advanced): For an extra touch, paint a large orange circle (or a rising sun) using orange and yellow for a radiant effect. This is great blending practice!
Step 7: Final Touches: Step back and admire your creation! Use the detail brush to refine edges and let the paint dry completely. Gently pat the face paint to check for smudges.
Pro Tips for Tractor Face Painting Success
- Practice Makes Perfect: Before painting a face, practice on paper to get comfortable with the colors and brushstrokes. This greatly increases your chances of success.
- Keep it Simple: Begin with a simple design. Even a basic tractor can look impressive with well-placed colors.
- Embrace Imperfection: Don't worry about perfect lines or circles. Quirks add character!
- Clean-up is Key: Face paint is designed to wash off easily. Have soap and water readily available for easy removal. Did you know that 95% of face painters prioritize easy removal capabilities?
Beyond the Basics: Unleash Your Creativity!
Once you master the basic tractor, experiment! Use different colors, add intricate details (a driver!), create 3D effects, and share your amazing creations! Remember, face painting is all about having fun and expressing your creativity!
How to Choose the Right Face Paint Brushes for Beginners
Choosing the right brushes is crucial for success. The type of design (intricate or simple) will determine which brushes you need. Beginners benefit from a basic set.
Essential Brush Types:
- Round Brushes: Ideal for fine details, outlining, and small, precise strokes (tractor wheels, windows).
- Flat Brushes: Perfect for quickly filling large areas (tractor body) and broad strokes.
- Angle Brushes: Excellent for sharp lines and angular shapes (tractor treads).
- Filbert Brushes: Useful for blending colors smoothly and creating soft, rounded shapes (tractor curves).
Bristle Types:
Synthetic brushes are best for water-based face paints because they're durable, easy to clean, and more hygienic than natural hair brushes.
Brush Sizes:
A variety of sizes is essential for applying paint to both large and small areas.
Cleaning Your Brushes:
Always clean your brushes thoroughly after each use with mild soap and water. Proper care is crucial for longevity.
Investing in Quality:
Investing in high-quality brushes will pay off in the long run. High-quality brushes will hold their shape better and create more consistent strokes.